
Tutorial - Photoshop Editing Instructional Video

Tutorial - Photoshop Editing Instructional Video
Professionally Produced.
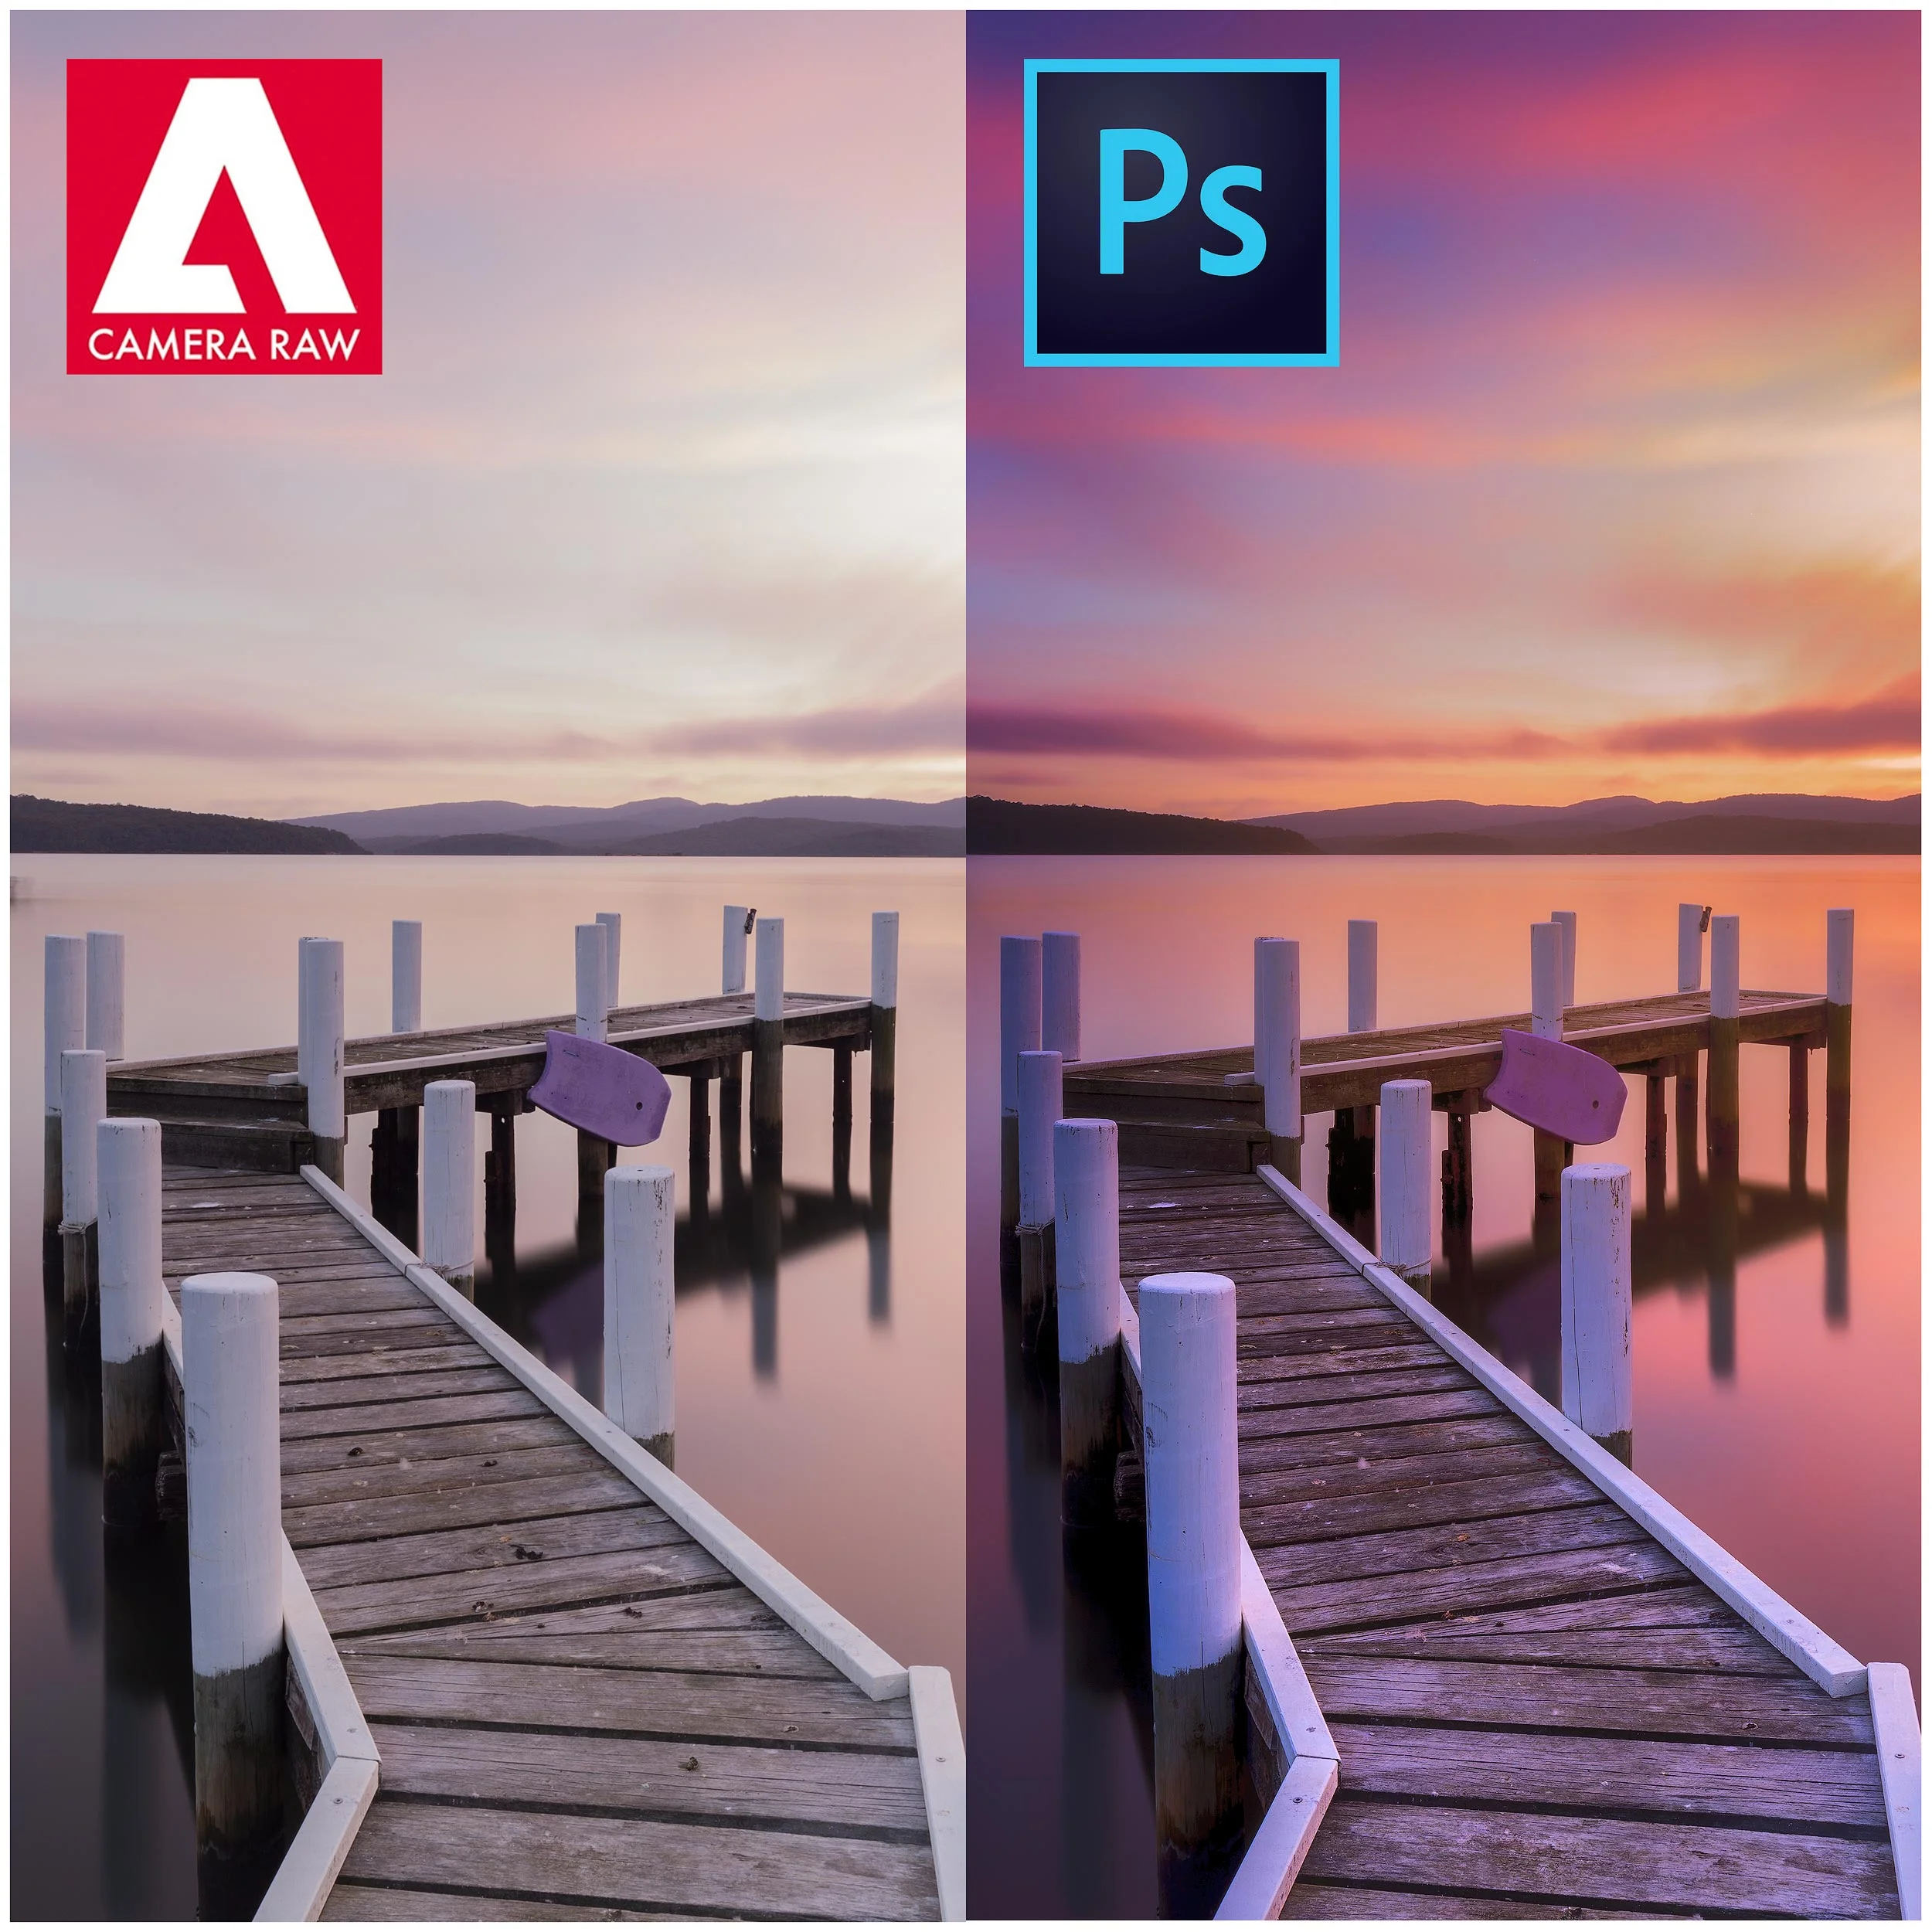
An easy to follow & understand video, showcasing the use of Adobe Camera RAW & Photoshop CC for beginner to intermediate skill levels.
The video is in three Stages -
STAGE 1 - Using & understanding Adobe Camera RAW. How to do a full image edit simply using Camera RAW.
STAGE 2 - Using & understanding Photoshop CC for layers & masking. How to make & use your own Luminosity Masks. Light painting techniques. Dodging & burning techniques. My favourite Layers & how i use them.
STAGE 3 - How to make your own Photoshop Actions to save you valuable time with editing in the future. My favourite actions. How to make your own logo Watermark Brush. Saving images for web & print.
A complete “Start to Finish” video full of easy to understand valuable information.
Video duration - 1 hour 53 minutes.
Available worldwide. The video will be emailed to you as a link & you can download your copy from there.
Please note - The video is a large file size & may take some time to download.
“Hi Brett . after Downloading and watching your Photo Editing Video today I thought I would send some feedback to you ..
I thought you covered the Basics very well , you no doubt have a wide range of clients with varying levels of experience in ACR and PS . Your introduction to ACR was great . I think most people will pick up how to use Layers and Masks from your Tutorial as well . ( God knows ,I struggled with the concept for a long time when I began !) I'm also glad that I'm not the only person on the Planet that uses Bridge instead of Lightroom as their RAW Converter ! Then the magic happened , the 50% Grey Layer way to Dodge and Burn will completely change my Workflow ! Light Painting is a much easier way to do something I was doing anyway . I was creating a new layer , sampling a colour , filling the new layer with that colour . Masking , inverting the mask then painting in that colour at a low opacity where needed . Your way is much simpler and works just as well ! Of all the tools in NIC I like Tonal Contrast the best , if overdone it introduces tons of noise , so be gentle and as you've done I selectively mask it in . I'd never considered a Color Range Selection as a Luminosity mask before but of course it is ! Just 2 sliders instead of a whole panel of possible selections and of course you can paint directly on the mask to refine it . Brilliant ! ( I usually use Lumenzia ) So , Brett , all in all , for me it was worth every cent ! I have picked up a lot of valuable Photoshop tips that I will definitely use on my next edit and I'd like to create a few actions that will speed up my workflow .” — Kevin“Hi Brett, Just finished watching your video all the way through and had to write back again and say how much this is going to help me with my images moving forward. I used to use Layer Masks soooooooooo much for so many actions. I thought my PS knowledge was quite good but after watching your video I have learnt so much more! I never knew how to dodge and burn, never even heard of light painting, luminosity masks was a highlight and I've been using High Pass to sharpen images and never even consider masking the sharpness of skies bc skies aren't sharp by nature...so true! Your explanation and step-by-step video is so simple to understand and I can't thank you enough for sharing your expertise. I'm doing a sunset shoot tonight and can't wait to see what I can do in PS with the images using some, if not all of your techniques from this video. I'll definitely send you one to have a look at! The painstaking attention to detail and thought you've put into putting into this video is very much appreciated! You're a genius!
Thanks again for sharing your expertise Brett!” — Sevi